Getting started
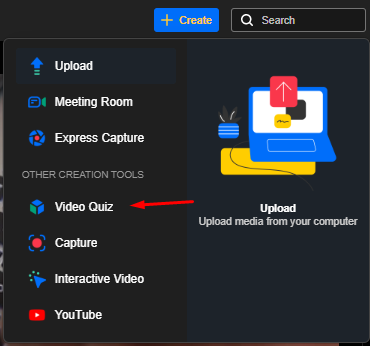
- Launch the Video Quiz Editor, as demonstrated in Create a video quiz.
- Click +Add a Question, then choose the question type.
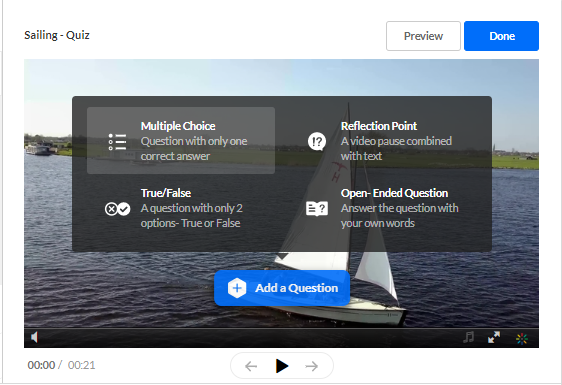
The following question types are available:- Multiple Choice - A question with up to 6 answer options and only one correct answer.
- True/False - A question with only 2 answer options - True or False.
- Reflection Point - A video pause combined with a question for quiz takers to reflect on.
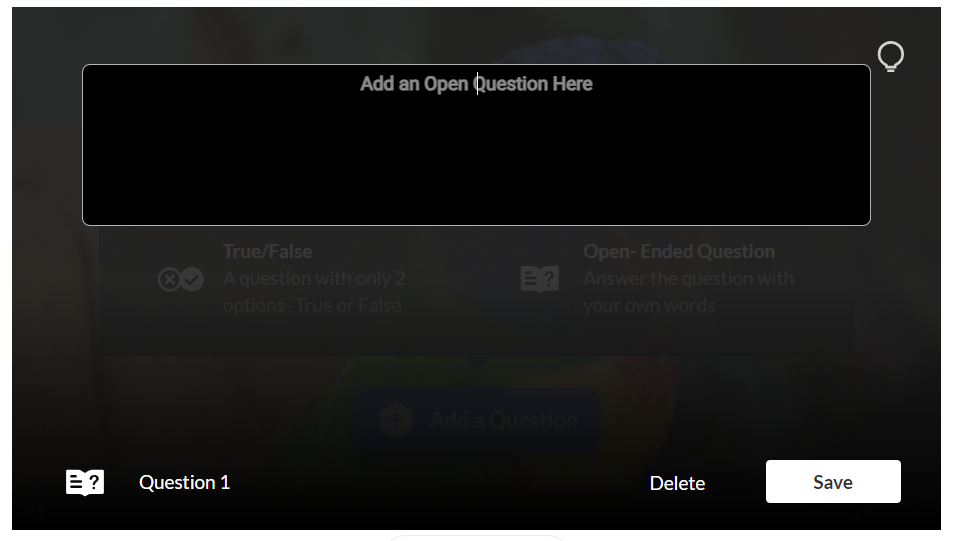
- Open-Ended Question - A question to encourage quiz participants to answer in their own words by typing in the box provided.
Open-ended questions have a limit of 400 characters for the question and 250 for the answer.
 Open-ended question type
QuestionsV3 in the Quiz Module must be enabled by your administrator to have the Open-Ended Question feature available. After the quiz has been submitted, you can review the written response to the Open-Ended question(s) and reply with a note to the participant. See Quiz Reporting for more information.
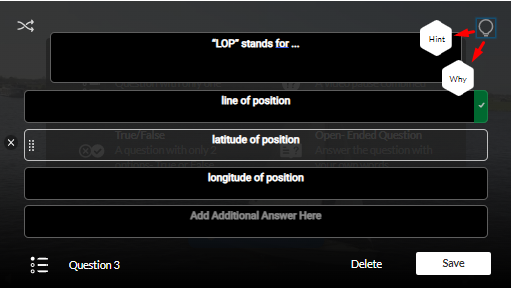
- Next, enter the question text in the Add a Question Here field.
- In the Add the CORRECT Answer Here field, enter the correct answer.
- In the Add Additional Answer Here field, enter other possible answers to choose from (distractors). Two answers are mandatory.
- Click the + icon to add more answers if you want.
To delete an answer, click on the x that appears when you hover near the answer. The correct answer can't be deleted, only modified.
- Optional - You can give the participants a hint or a justification for an answer (a 'Why'). Skip to Adding Hints and Whys to read more about this option.
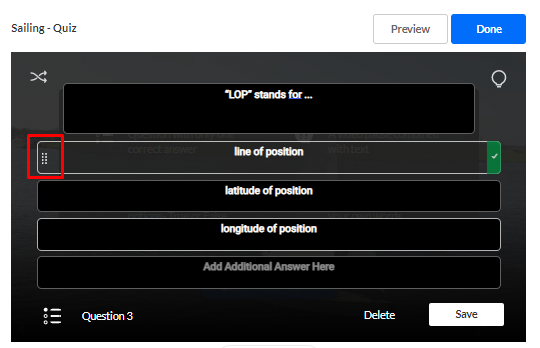
- After you have typed in the answer options, use the Shuffle icon to shuffle the answers, or hover over the dots next to the answers to manually drag them to re-order them. The correct answer always has a checkmark in green at the end of it.
(Optional) For questions only, you can add a link. To add a link in Windows: Enter Ctrl K, in MAC Command K. Change the link title to the text to display on the question and change the URL to the desired URL site.
- Click Save to save the question or Delete to delete it. (Note: Your quiz is saved automatically while you create it.
The questions appear on the real-time marker, indicated by the quiz icon. Quiz participants will see this visual indicator of their progress while completing the quiz.
Hovering over the question indicator on the timeline will display the question in a pop-up. If you click on the icon, it will open the question window for you to make changes.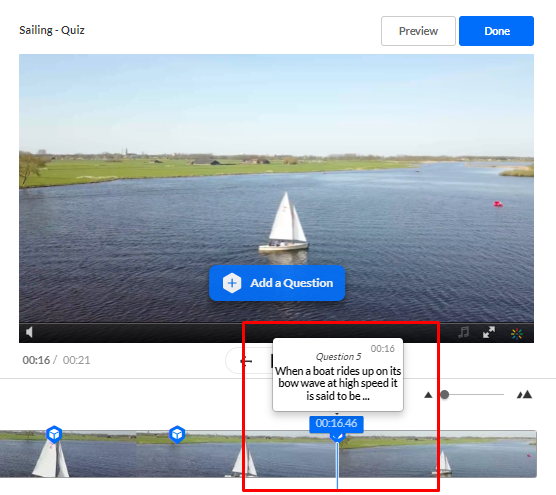
- For the next question you want to add, move the media’s real-time marker to the point in the video’s timeline where you want the question to appear. NOTE: if you place two questions too close to each other, it may be difficult to detect between the overlapping cue points. You can edit the location of the questions by dragging the question indicator.
- Repeat steps 1-9 for every question.
It's recommended to place your final question close to the end of the video as it keeps the user engaged until the video is finished.
When you have finished entering all the questions and answers, click Done.
To test out your quiz, answer the questions in Preview mode, and select Submit.


Adding hints and whys
You can help your participants by adding a Hint or a Why. A Hint contains additional information that can help answer the question (and it doesn't affect the score). The Why can give a justification for an answer (explain why it's the correct answer).
Hints
- To add a Hint, click the lamp icon and then the Hint icon.
- Enter the text in the box that appears.
- Click Apply or Remove.
In the quiz, questions with a hint will have a Hint icon next to them, as shown below.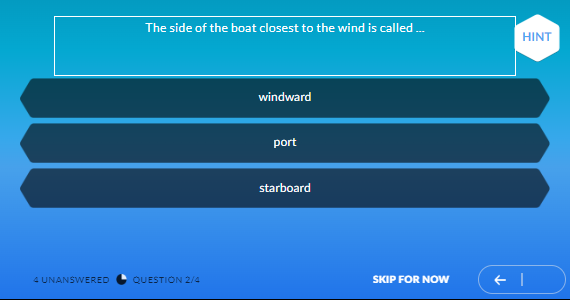


Whys
The Why comes up only at the end of the quiz and only when the option to Include Answers is checked in the Scoring tab.
- To add a Why, click the Why icon and enter the rationale in the box that appears.
- Click Apply or Remove.
Preview
- To preview the quiz, click Preview on the top right. (If you click Done, a new window will open where you can also preview your quiz.)
- Play the video and check the questions and answers are correct and in their proper places in the video.
- Click X Esc to exit Preview mode.
- Click Go to Media Page to see the quiz you created!

That’s it! You've created a quiz.
The session time for a quiz is the sessionLifetime parameter configured in the Auth module on the KMS admin (which is the same session time for any action in KMS/KAF).
Learn more
Kaltura video editing tools - editor tab

